That old roof over your head? It’s more than just shingles and rafters. It’s a time capsule. A story written in slate, clay, and wood. Restoring it isn’t a simple renovation project—it’s an act of preservation. A delicate dance between honoring the past and ensuring a future.
Here’s the deal: modern “rip-and-replace” methods just don’t cut it for historical structures. The goal isn’t to make an old roof look new, but to extend its life while keeping its soul intact. This requires a deep understanding of the original materials and, honestly, the craftspeople who put them there. Let’s dive into the world of historical roof restoration.
Why Old-School Methods Still Matter
You might wonder why we don’t just use today’s faster, cheaper materials. Well, historical buildings breathe. They shift with the seasons. Modern, rigid materials can actually cause damage by trapping moisture or preventing natural movement. The original techniques were developed in harmony with the building’s behavior.
Preserving original material is paramount. Every time we save an original slate tile or a hand-forged nail, we preserve a piece of history. It’s also, surprisingly, often more sustainable. It reduces waste and honors the embodied energy of those centuries-old materials.
A Material World: Common Historic Roofing
Slate: The Century-Long Performer
Slate roofs are the marathon runners of the architectural world. Properly maintained, they can last over a hundred years. The trick to historical slate roof restoration is identifying which slates can be saved. Craftsmen perform what’s called a “sounding,” tapping each slate with a soft mallet. A dull thud means rot or delamination; a clear ring means it’s still good.
Repairs often involve “re-slating.” This doesn’t mean replacing the whole roof. Instead, damaged slates are carefully removed using a special tool called a “ripper” that slides up under the slate to cut the old nails. New slates are then hooked into place and secured with copper nails—never galvanized steel, which can rust and stain the stone.
Clay Tile: The Artisan’s Touch
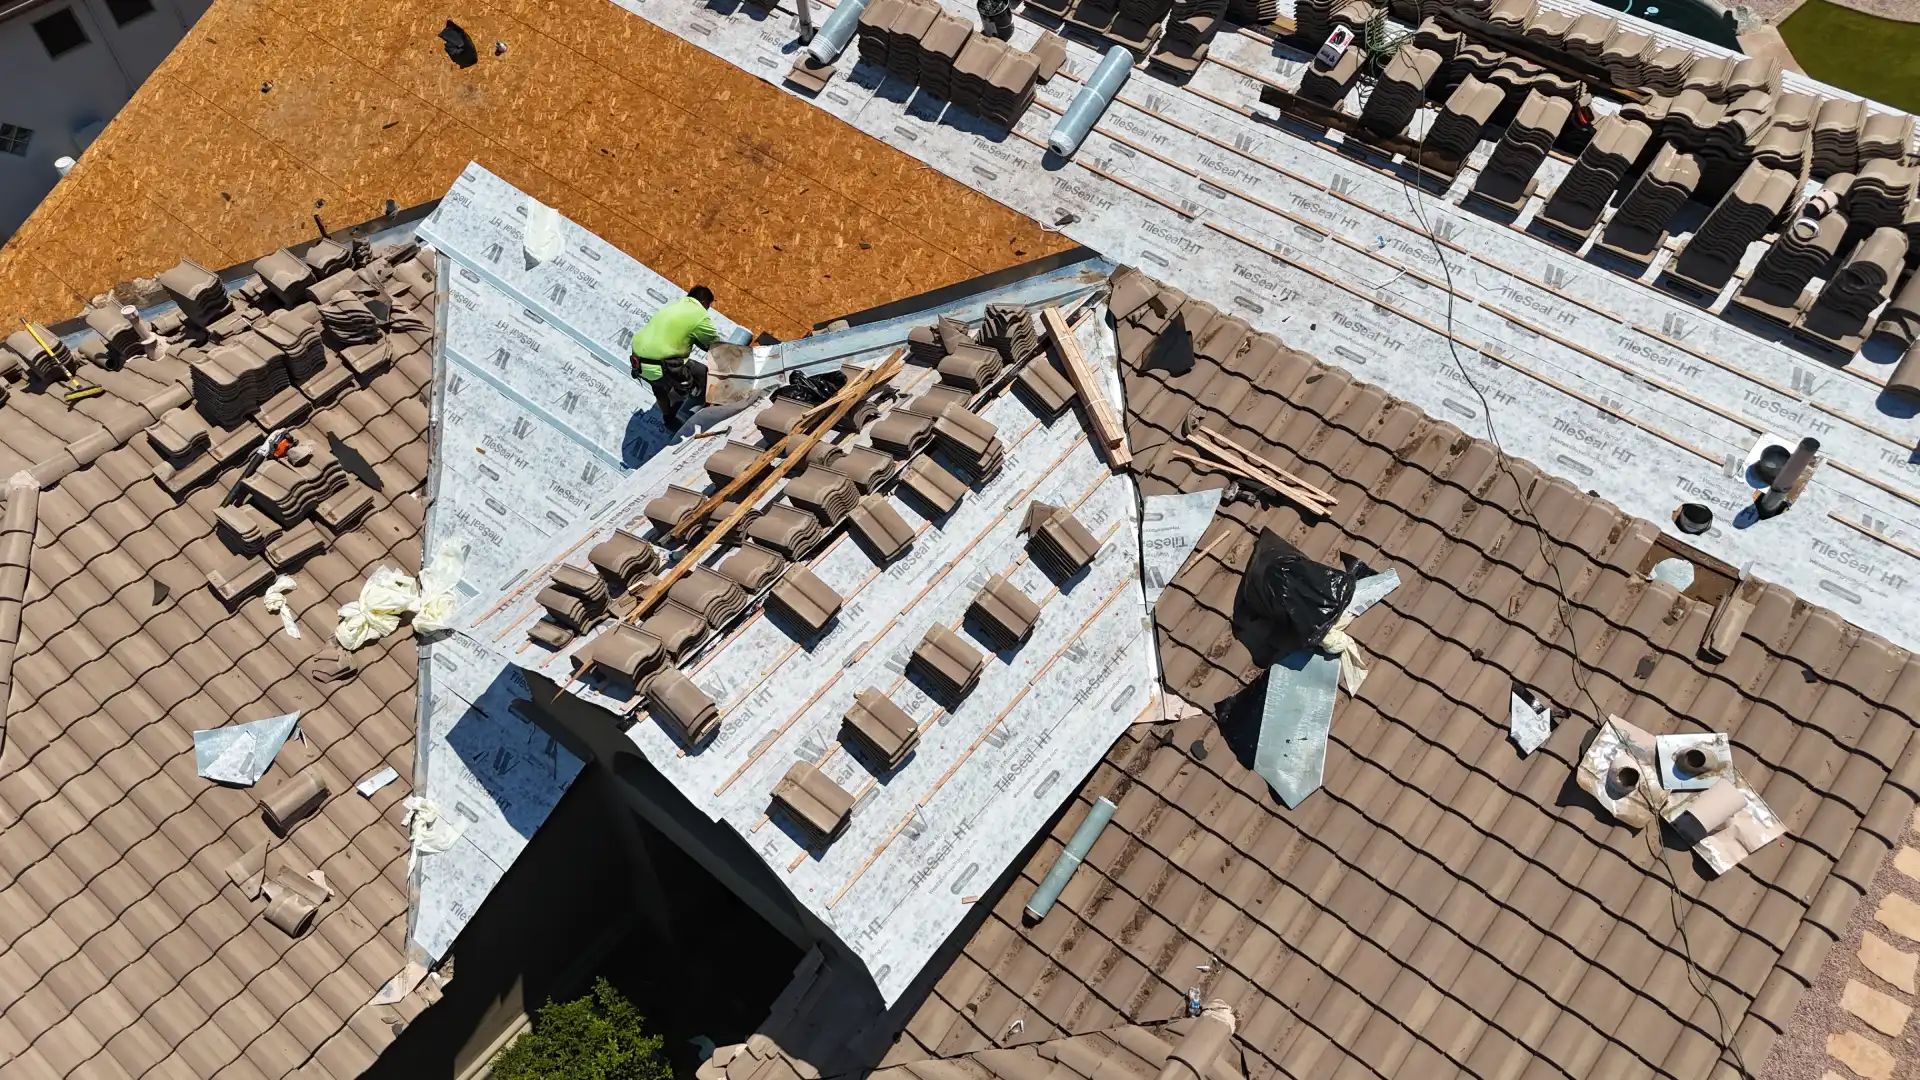
From the warm reds of Mediterranean-style villas to the rugged textures of English cottages, clay tile roofs have immense character. Preservation starts with a gentle cleaning—often with a low-pressure water spray and soft bristle brushes—to remove moss and debris without damaging the tile’s protective glaze.
Finding replacement tiles for a clay tile restoration project can be a hunt. Sometimes you can source “reclaimed” tiles from buildings of a similar age and style. Other times, specialty manufacturers can create custom reproductions that match the color, profile, and even the slight imperfections of the originals. It’s a painstaking process, but the result is seamless.
Wooden Shakes and Shingles: Weathered Beauty
There’s nothing quite like the silvery-gray patina of an aged cedar shake roof. The biggest threat to wood is moisture, so preservation focuses on promoting drainage and ventilation. A key technique is historic wood shingle preservation, which often involves carefully lifting existing shingles to replace rotten underlayment without breaking the old wood.
Replacement shingles are often hand-split to match the rustic texture of the originals. And forget modern sealants—these can trap moisture. Traditionally, wood roofs were left to weather naturally, and that’s often still the best approach.
The Toolbox: Traditional Techniques in Action
So, how is this work actually done? It requires a specific skillset. Let’s look at some core techniques.
Repointing with Lime Mortar
On slate and tile roofs, the ridges and hips are often bedded in mortar. Modern cement mortar is hard and inflexible. It cracks, traps water, and can erode the delicate edges of the tiles. The correct approach is repointing with a traditional lime-based mortar.
Lime mortar is softer. It’s breathable, allowing moisture to escape. It moves with the building. Mixing it is an art in itself, often using aged lime putty and sand in specific proportions. It’s a slower cure, but a far more sympathetic one.
The Art of the Patch
Sometimes, a full replacement isn’t needed. For smaller holes or damaged sections of a metal roof (like copper or terne), a “patch and solder” technique is used. A matching piece of metal is carefully shaped, slipped under the existing roofing, and soldered into place from above. It’s invisible from the ground and preserves the vast majority of the original material.
Common Challenges in Material Preservation
It’s not always straightforward. Here are some typical pain points restorers face.
| Challenge | Traditional Solution |
| Moss and Algae Growth | Manual removal; zinc or copper strips installed at the ridge to inhibit future growth (a time-tested method). |
| Rust on Metal Fasteners | Replacing rusted iron nails with period-appropriate copper or bronze nails to prevent staining and failure. |
| Fragile Underlayment | Installing a new, breathable membrane under the existing roofing where possible, rather than removing everything. |
| Finding Matching Materials | Salvage yards, custom fabricators, and even deconstructing non-visible sections of the roof to repair visible ones. |
A Thoughtful Conclusion
In the end, restoring a historical roof is an exercise in humility. It asks us to slow down. To appreciate the cracks and the weathering as part of the narrative, not as flaws to be erased. It connects us to the masons and carpenters who, generations ago, laid those same materials with skill and intention.
The true measure of success isn’t a roof that looks brand new. It’s a roof that continues to tell its story, sheltering generations to come with its original character proudly intact. That’s a legacy worth preserving.

